A fools crown

Added on by Joshua Rhodes.

Man, this is the biggest painting I have ever done. Me and the one and only Sentrock were commissioned to do this piece about 2 months ago, and we finally finished it! We are stoked how it came out. It was my pleasure collaborating with Sent. What do guys think?

large version

Here is a little process video, if you're into that type of thing.


Subtle Takeover Woodworks is OPEN!!!!

Added on by Joshua Rhodes.

Last week I made these honeycomb shelves for our living room.

We received positive feedback, and questions about how I made them so we decided to feature a DIY over at the one and only A Beatiful Mess for those who want to take a crack at building them, themselves.

For those of you who don't want to make the trek to the lumber  yard, don't own a miter saw, or would just like to buy a kit, I am offering ready made Honeycomb kits for your convenience! Ill send you the pre cut, pre sanded, pre drilled planks, screws, brackets, and instructions. All you have to do is glue and screw the pieces togther. easy peazy.


vans

Added on by Joshua Rhodes.

I have worn Vans for at least 17 years. For some reason I was drawn to them as a kid, and ever since have been pretty loyal. Actually, I remember my first pair being knock offs and I wrote vans on the blank label!  I know Vans is a major international brand,  but this video really captures their brand and makes it personal. I want to love their brand and I hope its legit. If anything, its a good lesson in company branding. I hope to carry that spirit of great craftsmanship and people first into my own work.

Honeycomb Shelves 2.0

Added on by Joshua Rhodes.

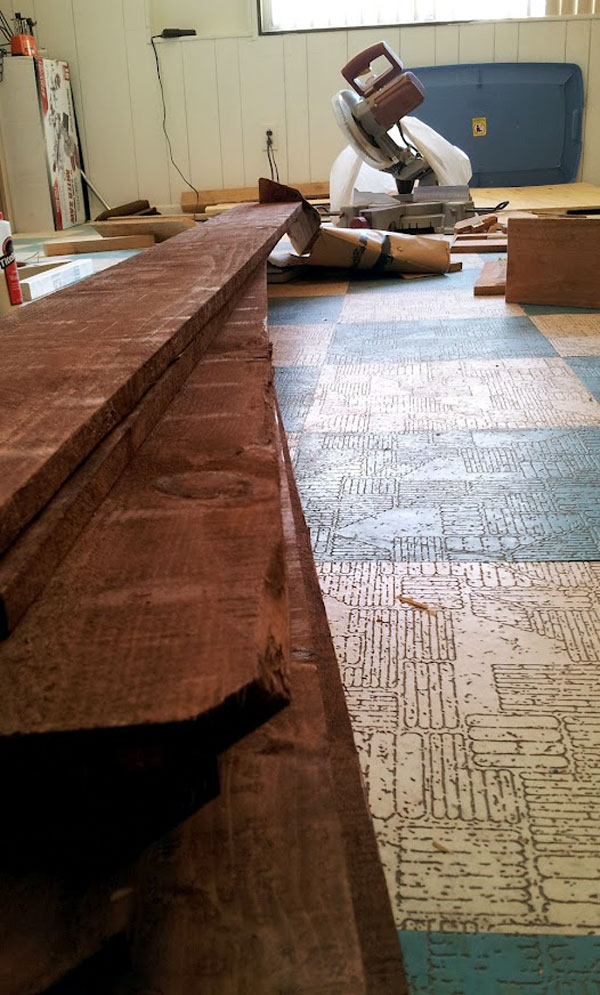
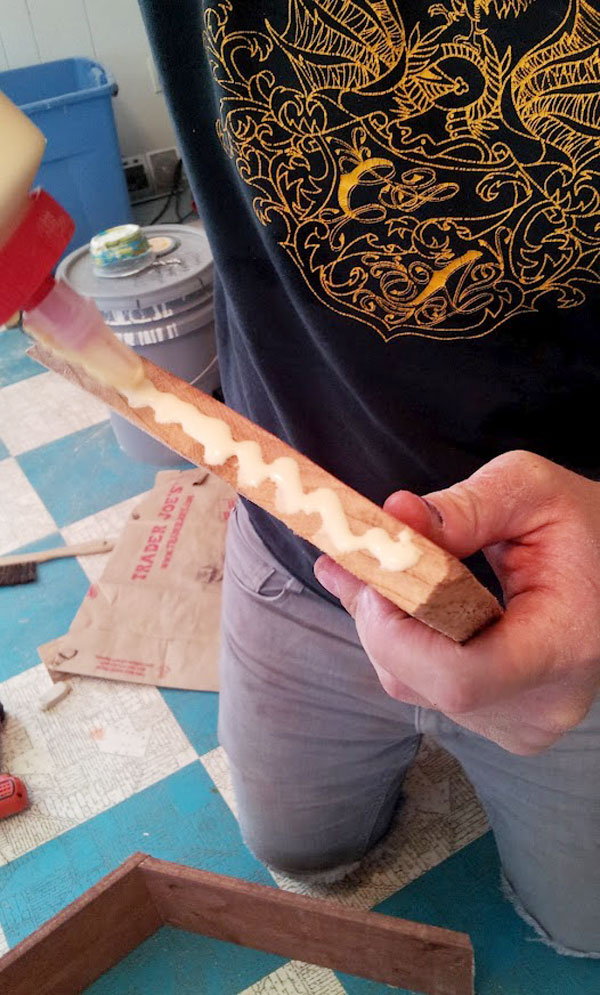
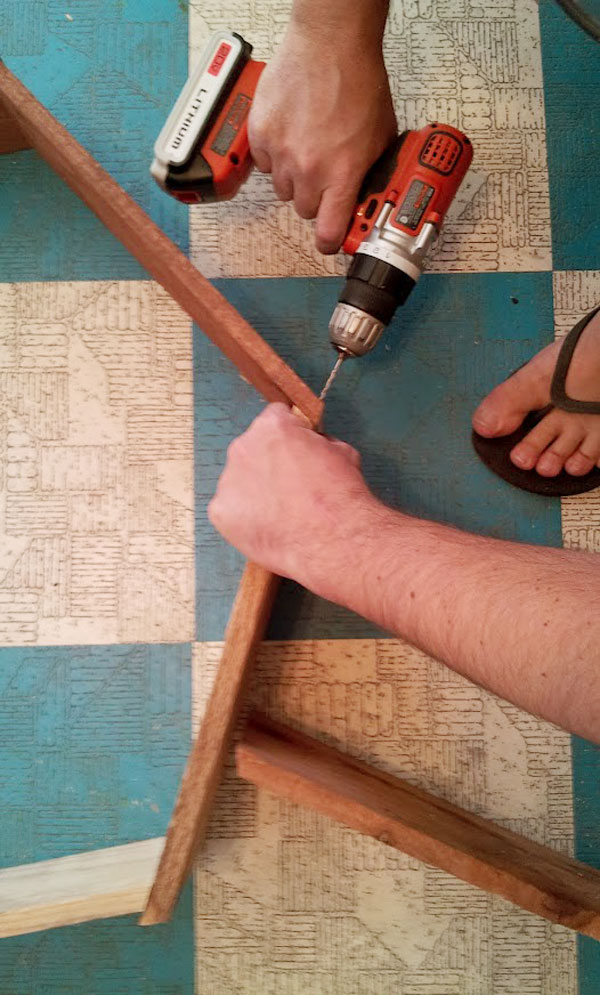
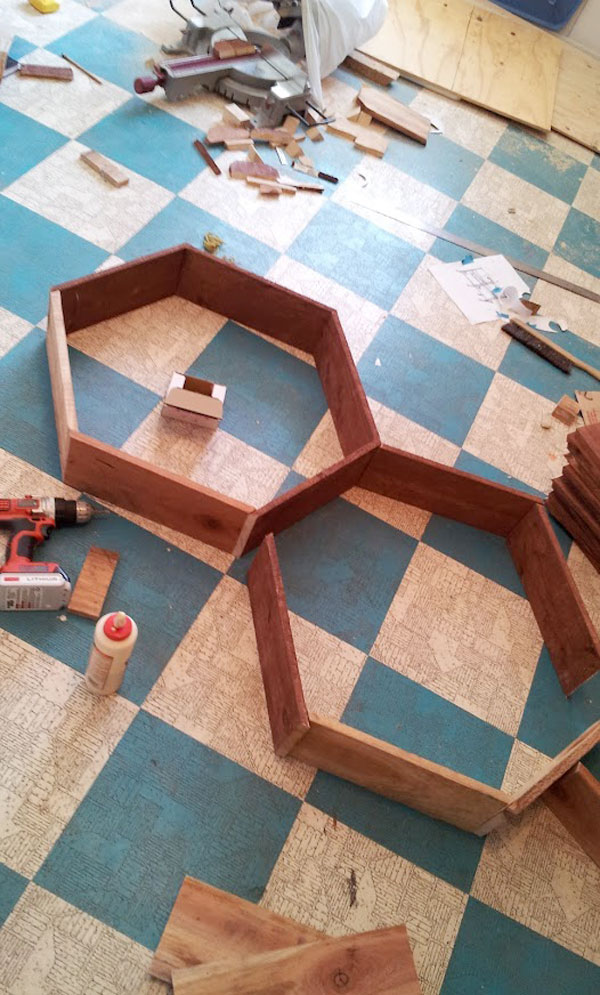
Last year I made some honeycomb shelves out of reclaimed wood. That project was one of my favorites, and since we couldn't bring them with us to Phoenix, I decided to make some new ones. Since I don't have have a table saw, I decided to make the shelves out of fencing planks from Lowes. Not only do they come in uniform thickness and width, which is handy,They're cheap (the whole project cost less than 15 bucks) and they have cool natural texture and color. I wrote a tutorial last year for  Design Sponge post. The only difference with these is that instead of pinning, I screwed the wood together with 1" drywall screws (pre drilling to prevent cracking).

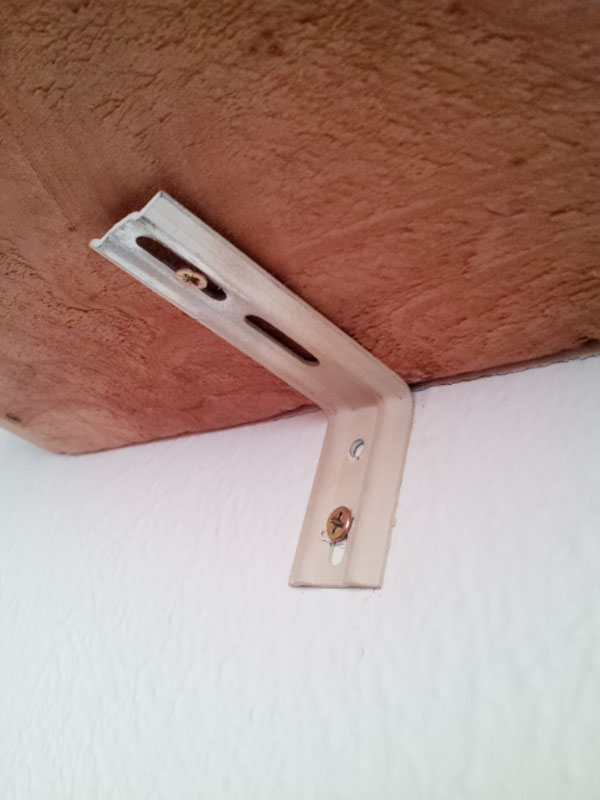
To mount the shelves, I used old brackets I saved when I took down some ugly blinds.

Always save stuff like that, you never know when you'll need them!

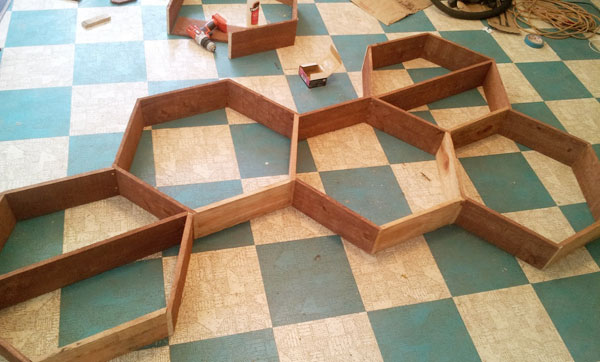
After the glue was dry, I took a sander to the shelves to give it more character and texture.

This how they turned out!

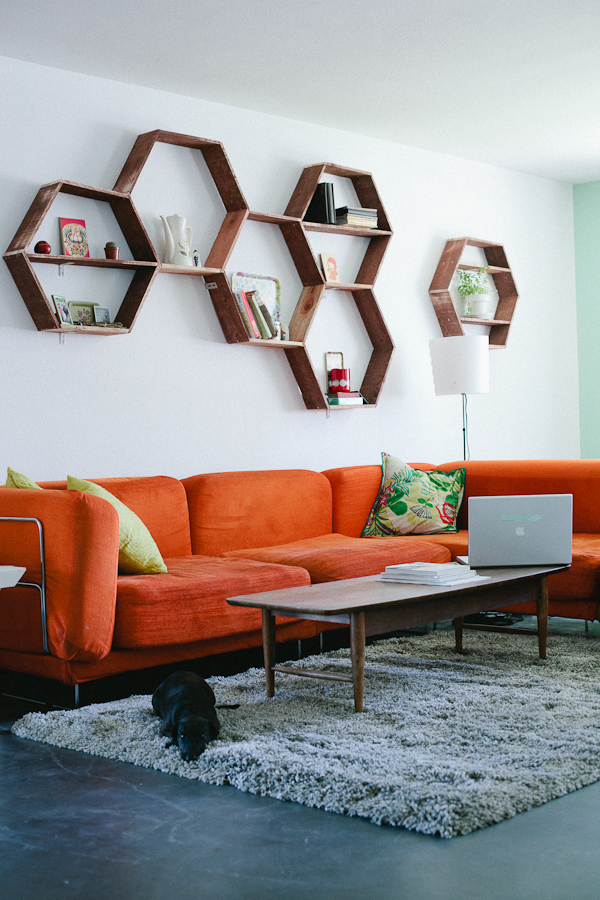
last photo by Sarah.